Lets Start Working With O2B Utility
There are few things which we need to know about O2B before we go further.
There will be two kinds of users for this utility:
1. Admin
2. Reporting
Admin user will first setup the environment for all the reporting users. At a time O2B can be connected to one planning application, however admin can change the connection information to different planning application, if needed. This change can be done at run time.
O2B Stores the O2B Admin, Reporting user information, JDBC URL and DB related information in O2B.properties files. The only (optional) pre-requisite is to create a System Environment variable which will help you in choosing the default location of the properties file. Remember as its a system variable you need to restart the machine in order to activate the variable. Good part is you can skip that step if you want to, but doing that O2B will automatically create nullO2B.properties files in a default location (In case of weblogic under domains, in case of Tomcat under Tomcat folder). If you are creating the environment variable make sure you use \ at the end. Ex: you should create D:\O2B\ not just D:\O2B.

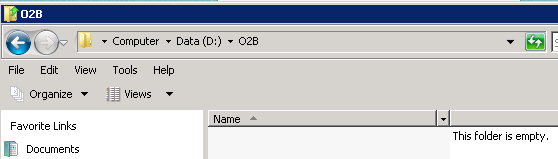
Here I have created the variable and the folder location. I have restarted my machine too.
After deployment you will see below default page, or in order words once deployment is successful you can access below link(My Server name is epmserver, you can replace the ip address or host name accordingly, Also I have deployed the application on glass fish):
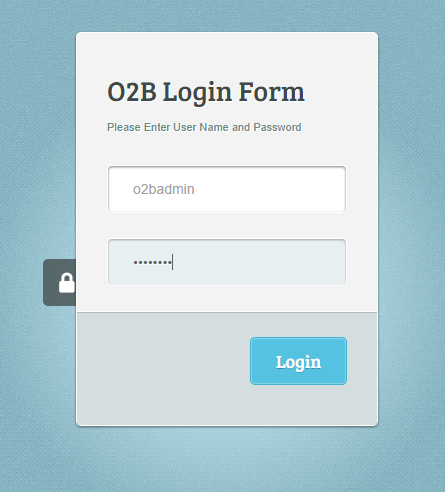
Login using the default admin and password, this user name and password you will be changing in a moment:

Once you are in for the first time you will see these option, select get started to enter the O2B user and Hyperion Planning DB connection information:

Enter the desired user name and password, enter the Db information and click on save, if the information is right you will get below message, logout and start using O2B with the new user name and password

Though Sample JDBC URLs are mentioned in the forms, here is an example too:
for Oracle: jdbc:oracle:thin:@MyServer:1521:orcl
Where MyServer is the host name and Orcl is the SID
for SQL Server: jdbc:sqlserver://MyServer:1433;DatabaseName=SampAppDb
Where SampAppDB is the Db name
If in case the DB information is wrong, you will get the following screen, correct the information as per the error message and save it again.

Now you can login using the reporting user and start exploring O2B:


Based on the different tabs it will pull the relevant information:

Now if you want to connect this to a different planning application login using the admin user:
You will get welcome admin screen:

Click on O2B info:

Update new information:

Now O2B is connected to the new Oracle based relational database :)

Cheers...!!
Rahul S.


Comments
Post a Comment